

At Home Dip Powder Nails Tutorial
*** UPDATED TUTORIAL HERE*****
As an avid gel polish user for the past 7(!) years, making the switch to dip powder was kind of daunting to be honest. I didn’t even know what it was until I started doing my own research, and after being so accustomed to my own gel kit and polishes, I didn't know how to even begin dip powder nails! I decided to take the plunge because:
1) I like thicker nails. My nails are brittle (always have been, which is why I started using gel in the first place) and will break even with gel on them. I also did multiple coats of gel polish to get them as thick as I liked, and it would take 2 sessions of a complete manicure to get them how I wanted!
2) I have an AWFUL peeling habit. My gel will look great for a week and then I start peeling and I can’t stop. It rips off layers of my nails and doesn’t help the fact they are already brittle!
3) I stopped having time! Gel nails, I have learned, are all around SO much more time consuming! When you cut out the dry time for each coat, and cut out the time it takes to remove and literally scrape the gel off your nail beds every time you want to change colors, it took up at least an hour and a half of my day.
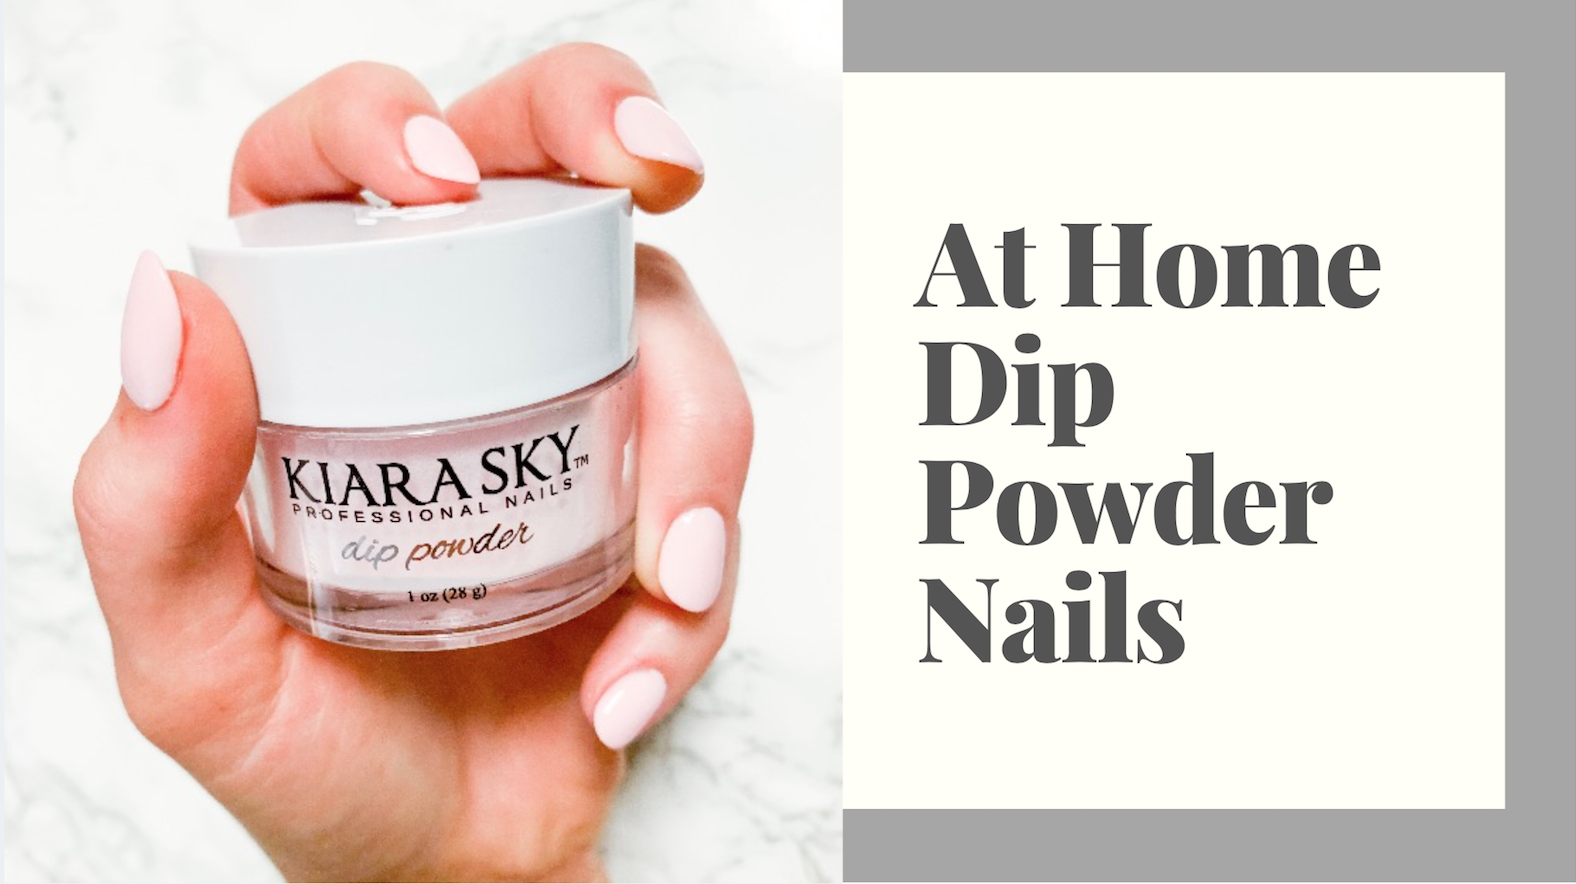
I did a ton of research on different dip powder brands, how to apply them, and how to do fill ins and removals, and decided on a brand I found to have the best price point with the best reviews. I got all of my supplies and 2 colors for under $70, and it will last me for years because each 1-oz color powder is a lot of product!
I also discovered a major lack of tutorials and posts on doing dip powder nails at home, and that’s what pushed me to want to do a tutorial. When I posted that I had tried it out at home, I got SO MANY direct messages on Instagram asking me to please show how I did it and what I bought, so here goes!
Here is everything I purchased, all from Amazon:

I attempted making a tutorial video, but it’s the first one I’ve EVER made so a lot of it isn’t in focus and I didn’t do the most attractive job, but you’ll get the gist! Also shout out to my personal video editor and boyfriend for spending two weeks editing this video for me. He did AMAZING and made my awkwardness so much less awkward! Thank you :)
Step by step:
Remove any past nail polish. Push cuticles down, and buff the nail bed down with a fine grit file. THOROUGHLY wash hands and nail beds. Clean nail beds with an alcohol soaked cotton ball.
Apply the Bond to each nail.
Apply the Base to 3/4 of one nail, and immediately dip into color powder. Apply Base to 3/4 of the second nail, and immediately dip that nail into the color powder. Repeat one by one until you have done one coat of powder on each nail. Lightly brush excess powder off each nail.
Apply another coat of Base, this time a hairline away from the sides of the nail and the cuticle. Dip immediately into the color powder again. Repeat on each nail, and brush excess powder off of each nail again.
Apply a third coat of Base, but this time, you will be using the clear powder. It is recommended not to dip into this, but to use a small spoon and sprinkle a layer from all angles over the nail so you do not contaminate the clear powder with any color powder. Do this one by one until all your nails are coated in the clear, and brush off excess again.
Next, apply a light coat of Seal Protect to each nail. Once you have applied to all nails, take a fine grit nail file and file down your nails. Be careful not to file away too much (try to imagine not taking off the entire clear coat) and make sure to file the edges of your nails to keep them neat.
Wash your hands thoroughly with soap and water. Wipe down each nail bed with an alcohol soaked cotton ball.
Apply another coat of Seal Protect to each nail. Once you have done each nail, wait about 30 seconds and rub each nail with a lint free cloth. Now, my mistake was immediately going in with my Top coat. This will dry out the top coat brush and make it impossible to use again! Wait another minute or two to make sure the Seal Protect is completely dried.
Apply one very thin, QUICK layer of the Top coat. Let dry 2-3 minutes.
Apply a second quick, thin coat of the Top coat. Let this dry for another 2-3 minutes.
If you want to be able to ever use this Top coat again, go ahead and let the brush soak in your Brush Saver. Believe me when I tell you that soaking the brush is acetone is NOT a genius, cost-friendly way to save a brush when it starts getting hard from the Top coat touching the Seal Protect. If that’s confusing to you, don’t worry about it- just put the brush in the Brush Saver for a few minutes and then wipe clean before placing back in the Top coat container and sealing shut.
Last step is to rub your cuticles down with a cuticle oil. In the video, I just used one I had from my RedCarpet gel kit, but Kiara Sky sells one as well. I would just make sure to use coconut or avocado oil and keep your hands moisturized daily as a habit anyways.
That’s it! If you have any questions definitely reach out and ask away! The best way to get a reply from me is to direct message me on Instagram, but commenting here or sending an email will be fine :) I hope you found this helpful!
xoxo, jess.

